CS2 replay controls: keyboard shortcuts and console commands
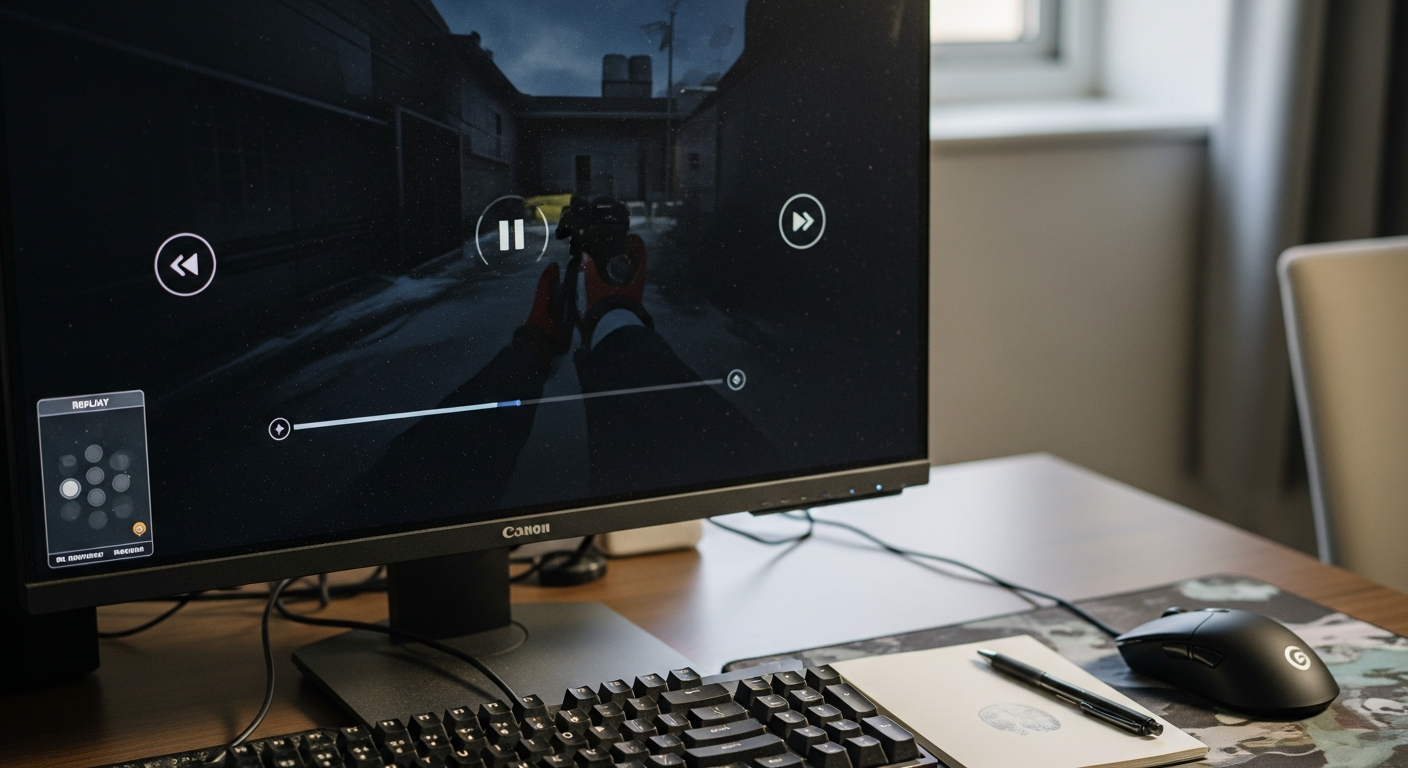
Table of Contents
How to open CS2 replay controls
Getting around the CS2 demo UI means knowing a few specific shortcuts. The game gives you multiple ways to launch the playback system, either through keyboard combinations or console commands. If you plan to use console commands, make sure the developer console is active first.
To use CS2 replay commands, you need to enable the developer console in the game settings. Click the cog icon in the main menu to open Settings, go to the Game tab, and set Enable Developer Console to Yes. Once that’s done, press the tilde (~) or backtick (`) key to open the console. From there, you have three ways to bring up the replay controls.
-
Keyboard shortcut: Press Shift+F2 to activate the built-in demo UI, which lets you watch CS2 replay files with full playback control.
-
Console command: Type demo into the developer console and hit Enter to open the same interface.
-
Main menu navigation: Click the TV icon in the top left corner of the home screen to browse, download, and launch recent matches.
Once the interface is open, you can use the space bar to pause and resume. These basic CS2 replay shortcuts let you get into your match footage quickly and without fuss.
CS2 replay controls for playback
To manage match footage well, you need to know the core playback features the demo interface offers. Once a file loads, you can manipulate the timeline in several ways, from simple keystrokes to console inputs. These cs2 demo controls let you review key moments with precision.
The built-in interface has distinct tools for controlling the flow of a recorded match. You can navigate footage using the following features:
-
Pause and play: The space bar is the quickest way to stop or continue the action. If you prefer console inputs, demo_pause stops the footage and demo_resume starts it again.
-
Scrub bar: Dragging the timeline slider lets you jump to specific moments manually. It’s a practical way to scan through a match without needing exact timestamps.
-
Round skip buttons: Clicking the round skip icons moves you straight to the start of the previous or next round, which makes finding specific gunfights much faster.
-
Speed controls: Pressing number keys changes the playback speed from the keyboard. Pressing 1 sets normal speed; higher numbers accelerate the footage for quick scanning.
Mixing UI clicks with keyboard shortcuts makes for a smooth viewing experience. Once you get comfortable with the playback flow, reviewing strategies and player movements stops feeling like a fight with the video player.
CS2 replay speed and fast-forward
Controlling your viewing pace matters, whether you’re skipping downtime or studying micro-mechanics. When learning how to fast-forward CS2 replay files, you can use keyboard bindings or console inputs to control the timeline. Adjusting cs2 replay speed lets you skip setup phases and focus on the engagements that actually matter.
Keyboard shortcuts for timeline control
The quickest way to scrub through a match without opening extra menus is your keyboard. These default bindings let you change the speed of playback instantly.
-
Right Arrow key: Pressing this immediately speeds up the viewing pace, so you can skip through timeouts or saving phases without touching the console.
-
Numeric row (1, 2, 3): Tapping these keys changes the speed on the fly. Pressing 1 returns to normal pace, while 2 or higher scales up the fast-forward effect for rapid scanning.
Adjusting pace via console commands
For players who want exact control over playback speed, the developer console offers specific parameters. These commands go beyond the basic cs2 demo controls and let you set custom slow-motion or fast-forward values.
-
demo_timescale 2: This doubles the speed of the current demo, which works well for watching a full round quickly while still following player movement.
-
demo_timescale 0.5: A decimal value halves the normal speed. Slow motion is useful when analyzing spray patterns, crosshair placement, or utility lineups.
-
demo_timescale 1: This restores the match to real-time speed. Use it right after a skipped segment when you want to watch an execution play out normally.
Combining keyboard inputs with custom timescale values gives you full control over the viewing timeline. You won’t have to sit through empty angles or long economic rounds if you don’t want to.
How to skip rounds in CS2 replay
Jumping straight to key gunfights saves a lot of time during review sessions. Whether you want to skip the buy phase or jump to a match-defining clutch, knowing how to skip rounds in cs2 replay files is essential. Counter-Strike 2 gives you both graphical interface options and console commands to navigate the timeline, so you can stay focused on tactical improvements rather than dead time.
Utilizing the demo UI cs2 features
The built-in graphical overlay is the most accessible way to jump between stages of a recorded match. Opening this panel gives you visual timeline controls, so you can find segments without needing exact server timestamps.
-
Round arrows: Clicking the forward and backward arrows instantly moves the timeline to the start of the next or previous round. These buttons are the fastest way to skip setup time and get straight into mid-round action.
-
Scrub bar: Dragging the main progress slider lets you scan the entire match manually. It’s useful when you’re hunting for a specific execution or grenade lineup but don’t know the exact round number.
-
Space bar toggle: Tapping the space bar or clicking the on-screen play button pauses and resumes playback instantly. It’s handy for halting the footage right after skipping to a new segment so you can check initial positioning.
Console commands for precise jumping
The visual interface works well for general navigation, but the developer console is better when you need to land on a specific frame. Console-based cs2 replay commands put you exactly where you need to be, which is especially useful for coaches reviewing known timestamps.
-
demo_Gothic (tick number): This command teleports the camera to a specific server tick in the saved file. If you noted down a key moment during the live match, this is the fastest way to get back to it.
-
demo_pause and demo_resume: These stop or start playback independently of the graphical overlay. Many players bind them to unused keys to build out a more customized set of cs2 replay shortcuts.
Combining the visual timeline slider with tick-based inputs gives you complete control over match navigation. Efficient skipping keeps the review process focused on the gameplay that actually matters.
CS2 replay commands for exact jumps
Sometimes scrubbing through rounds isn’t precise enough. The developer console offers cs2 replay commands built specifically for time-based navigation, letting you skip directly to a specific frame without any manual searching. Coaches and competitive players use these to jump straight to a team fight or grenade execution without wasting time on trial and error.
Time and tick navigation inputs
The standard demo UI cs2 interface is fine for general viewing, but typing specific coordinates into the console gives you immediate, frame-perfect results. Analysts use these options to target moments they noted during live play.
-
demo_GOTO time (seconds): This command jumps the viewer to a specified timestamp in the recording. If you already know the exact second a key event happened, this is faster than dragging the slider.
-
demo_Gothic [tick]: Entering a specific server tick number gives you the most granular level of timeline control available. Competitive analysts use this to break down micro-adjustments during high-stakes duels, frame by frame.
Combining these precise jumps with standard pause and play features keeps the review workflow clean. You spend your time evaluating decisions, not fighting the playback timeline.
How to use camera modes in CS2 replays
Analyzing a match properly means seeing the action from more than one angle. Counter-Strike 2 offers distinct camera perspectives for examining player mechanics, team positioning, and utility usage. Different viewpoints give you spatial awareness that a single vantage point simply can’t provide.
The game offers three primary viewing configurations.
-
First-Person View: Shows exactly where a specific player was aiming and looking during the live match. It’s the go-to perspective for checking crosshair placement, spray control, and reaction times.
-
Spectator Follow Mode: Locks the viewpoint onto a selected player while pulling back slightly from the immediate first-person sight line. Analysts use it to track movement paths and overall positioning during chaotic engagements.
-
Free-Look Mode: Also known as the cs2 free camera, this lets the observer fly anywhere on the map without being attached to a specific player. It’s ideal for watching team-wide tactical executions from above.
Switching to the free camera is simple. Press Q to activate it, which removes all movement restrictions and lets you navigate the map freely. If you prefer the console, typing spec_mode 5 does the same thing. Switching between these angles means you won’t miss utility lineups or flanking routes during a playback session.
CS2 replay controls for analysis
Reviewing past matches in the demo viewer helps players analyze their gameplay, refine mechanics, and build better team strategies. Getting comfortable with the available tools makes practice sessions more productive and gives you solid material for content creation. The key is knowing which inputs to use so you can pinpoint mistakes and catch the moments that decided a round.
Achieving frame-perfect precision
Looking closely at clutch situations often means examining split-second decisions. Frame-perfect analysis is possible by combining console inputs built for exact timing, so no critical detail gets missed during chaotic firefights.
-
demo_Gothic: Jumps the timeline to an exact server tick, putting you just before a key engagement starts.
-
demo_timescale: Changes the playback rate through the console, letting you slow down rapid crosshair flicks to a fraction of normal speed.
-
Numeral keys (1, 2, 3): Quick keyboard shortcuts for controlling recording speed, useful for analyzing fast-paced moments without having to type cs2 replay commands each time.
Isolating individual performance
Studying positional errors requires focused observation. Spectator Follow Mode locks the camera onto a specific player for detailed movement analysis, which helps you track a teammate or opponent through heavy utility exchanges. When you watch cs2 replay files to evaluate defensive rotations, keeping the perspective fixed on one target clearly shows gaps in map control.
Regular review sessions with these tools quickly expose mechanical habits and highlight areas that need tactical adjustment.
How to download CS2 replays
Before you can analyze anything, you need the actual demo files. You can download cs2 replays directly through the game client or retrieve older match data through the Steam Community portal. Both methods give you the raw data needed to watch cs2 replay files offline. Saving recordings locally means they stay available even after the server history expires.
Using the in-game demo UI
The most straightforward way to grab recent matches is through the game client itself. Make sure the application is updated before trying to fetch recent gameplay. The process only takes a few clicks.
-
In-game client extraction: Open the game and click the TV icon in the top-left corner of the main menu to see your recent match history.
-
Match selection and saving: Select the match you want to study and click the Download button to pull the data to your computer.
-
Immediate playback: Once the download finishes, click the Watch icon to load the match directly into the demo UI cs2 interface.
By default, the game saves these files to a specific folder on your drive. You’ll find them at Steam\steam apps\common\Counter-Strike Global Offensive\game\CSGO\replays.
Accessing older matches via Steam
Sometimes you need to recover a match that no longer appears in the standard client history. Steam keeps an extended archive of personal game data, including Premier and standard competitive matches. Getting to those files means going through your account statistics.
-
Steam profile navigation: Go to your Steam Profile, select Games, then My Game Stats, then Personal Game Data to reach the archived matches.
-
Category selection: Browse the game mode tabs, such as Premier Matches, to find the specific session you want to review.
-
Manual retrieval: Click the Download Replay icon under the chosen scoreboard to save the .them file to your computer.
Once the .them file is on your drive, you need to trigger playback manually. Move the file into the replays’ folder, launch the game, open the developer console, and type play demo [filename]. Keeping an offline library means you always have access to the footage you need, whenever you need it.
How to record CS2 demos locally
Players who want to capture personal perspectives, custom matches, or practice sessions can record cs2 demos manually. This creates a point-of-view file directly on your drive, preserving crosshair movements and client-side actions. Before you start, make sure the developer console is enabled in the game settings, since it’s the main tool for managing local session files.
Starting and stopping the recording
Starting a manual capture requires specific console commands. The engine processes them instantly, so you don’t have to rely on automatic server-side backups.
-
Starting the capture: Open the console and type
record [file_name]to begin recording your session under a chosen name. -
Immediate initiation: Manual recording ignores the server delay set by the
TV_delayparameter, so the capture starts the moment you submit the command. -
Finalizing the file: Type
stopinto the console when you’re done to finalize and save the recording.
After stopping, the system automatically saves the file to the game’s replay directory alongside your other recordings.
Playing back manual recordings
Loading a fresh capture is straightforward once the file is saved. You can find it through the main menu, or just open the console and type play demo [file_name] to launch it directly. Manual recording gives you immediate access to custom scrimmages and offline practice sessions whenever you want to review them.
CS2 replay file size and storage
Storing multiple match recordings takes up real disk space. A single match file is usually a few dozen megabytes, depending on match length and server tick rate. Over time, those files add up. It’s worth accounting for that extra data alongside the core game installation to avoid filling up your primary drive.
Base game capacity
The base Counter-Strike 2 installation takes up a significant amount of space before you even save a single recording. Under normal conditions, the game is around 40 GB. Official minimum requirements, however, specify 85 GB of available space for both standard and Linux setups to accommodate engine updates.
Some minimum configurations list 50 GB on an HDD or SSD as a strict baseline, while others recommend 60 GB. You might come across older references to 15 GB or 45 GB minimums, but keeping at least 85 GB free is the safest approach. That overhead also leaves plenty of room for a growing demo folder.
Managing local files
Regularly cleaning up your replay directory prevents storage from becoming a problem. Go through your saved files periodically and delete anything you no longer need. Moving important recordings to an external drive is another practical way to free up space on your main disk. It’s a simple habit, but it keeps your system running well and ensures you always have room to download CS2 replays after major matches.
CS2 replay controls and True View
The native CS2 demo UI already offers strong tools for match analysis, and modern desktop viewing environments increasingly replicate that experience. Because desktop replay controls work 1-to-1 with the native Counter-Strike 2 engines, practicing your observing skills there feels immediately familiar.
Live integrations and camera modes
Platforms like Bet peek let users watch live matches while practicing standard broadcast mechanics. The system integrates analytical features directly into live viewing, giving spectators access to tools like X-Ray vision and Grenade Follow. Getting comfortable with this 1-to-1 setup prepares you for handling complex tactical reviews offline.
Core navigation options
The interface provides a full set of CS2 replay control options for manipulating the timeline during a demo. The space bar handles basic pausing and resuming, while the main UI takes care of heavier navigation tasks. Knowing these functions well means you won’t miss relevant details or waste time sitting through inactive rounds.
-
Playback speed: Use the scrub bar, fast-forward, and speed toggles to skip through uneventful setup phases.
-
Match structure: Use the round switch button to jump between active stages of the game.
-
Viewing perspectives: Switch between First-Person View, Free-Look Mode, and Spectator Follow Mode to analyze positioning from different angles.
Understanding these viewing mechanics makes for a smoother analytical workflow overall. Moving between live broadcasts and your own downloaded files becomes second nature.