CS2 dot crosshair: how to set it up and pro codes
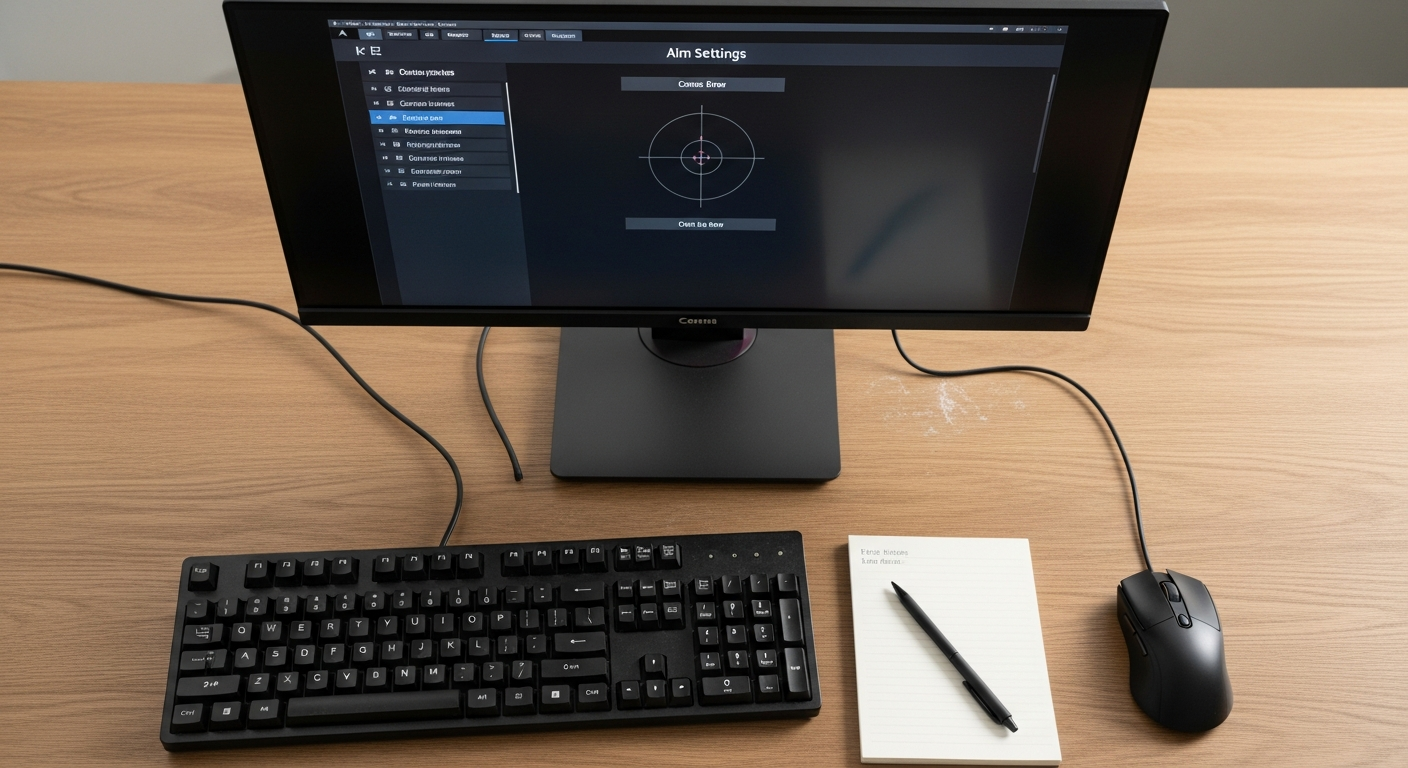
Table of Contents
What is a dot crosshair in CS2?
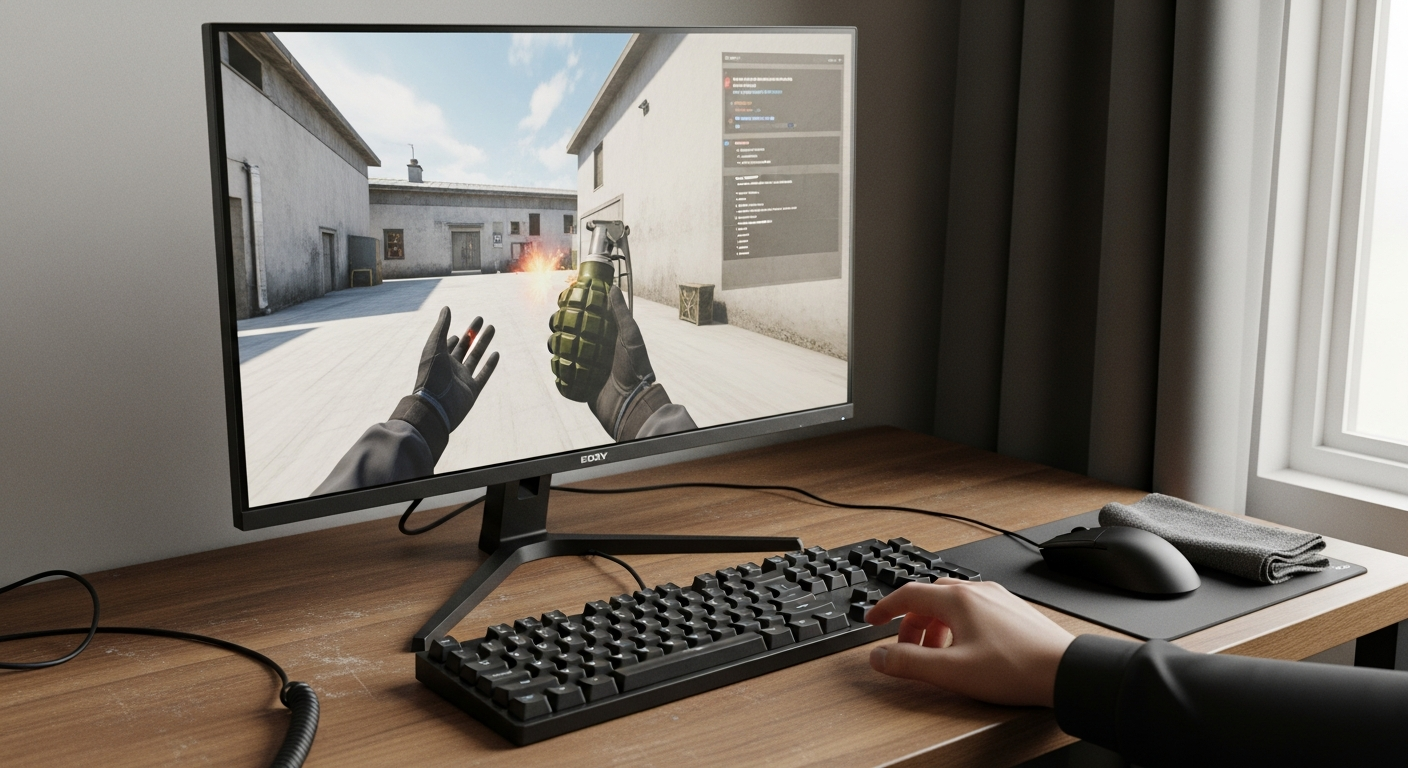
A dot crosshair in CS2 is a single small point at the center of your screen that replaces the traditional lines or dynamic shapes. Removing the surrounding cross lines leaves only a central indicator showing exactly where your weapon fires. This shifts your aiming focus quite noticeably compared to options like the Default crosshair, which widens to display recoil spread, or the Classic style that expands as accuracy drops.
Switching to a solitary point removes these moving parts and gives you a cleaner experience built around precision and fewer distractions. Here is how this setup changes your gameplay:
-
Precision aiming: The isolated point draws your eye directly to the center of the monitor, which helps with landing headshots in the opening moments of an engagement.
-
Visual clarity: Without the outer lines, you get an unobstructed view of player models hiding behind tight angles.
-
Spray tracking: Controlling your weapon during continuous fire can be harder without dynamic outer lines to guide your peripheral vision, especially for newer players.
Not everyone will get on with this approach, but with practice you can get comfortable with the compact reticle and build more consistent mechanical habits.
Why pros use a static dot crosshair
Professional players need absolute reliability during high-stakes matches, which is why so many of them favor a static dot crosshair over the game’s default dynamic options. A static center dot stays completely still regardless of movement or firing, giving you consistency without the visual noise of expanding lines. Top competitors rely on a few core advantages with this setup:
-
Maximum precision: A single point helps you hit exactly where you aim, making it effective for immediate headshots.
-
Unobstructed view: Eliminating the expanding outer lines gives you a clear view of enemies holding tight angles or sitting at long distances.
-
Stable aiming: Because the reticle never moves or changes size when running or shooting, you can build reliable muscle memory for counter-strafing.
-
Aiming consistency: A fixed visual reference encourages controlled shots rather than panicked spraying.
The main purpose of a dot crosshair is to reduce visual distractions and sharpen your aim. Many casual players try center dot settings out of curiosity, only to find that a static point makes it much easier to track exactly where their bullets land.
How to set a cs2 dot crosshair
There are two main ways to apply a dot reticle: building the shape manually using in-game sliders, or importing a specific CS2 crosshair share code. Both happen entirely within the main menu, with no external files needed unless you later save an autoexec config. The steps below are aimed at first-time players who want a quick setup.
Configuring via the in-game menu
Building the shape yourself gives you full control over how your targeting point looks. The process comes down to tweaking a few specific settings to remove the four-line design and leave only the central pixel block. Follow these steps to strip down the default design.
-
Navigate the menu: Open the main Settings screen, click the Game tab, and open the Crosshair submenu.
-
Set the style: Find the style dropdown and select Classic Static, which stops the reticle from expanding while you move or shoot.
-
Enable the point: Toggle Center Dot to Yes, so the middle block draws exactly in the center of your screen.
-
Remove the lines: Set the Length value to 0, which hides the standard horizontal and vertical lines completely.
Once you apply these parameters, the live preview window will show a small box in the middle of your screen. From there you can adjust other sliders to fine-tune the final look.
Importing a pre-made configuration
If you want to skip manual adjustments, importing a predefined string is the quickest option. You copy a code straight into the game with a few clicks, and the string contains all the necessary variables in a single block of text.
-
Access the importer: Open Settings, go to Game, and scroll to the Crosshair section.
-
Open the prompt: Click the Share or Import button on the preview bar to bring up the text input box.
-
Apply the string: Paste your chosen code into the input field and click Import to overwrite your current settings.
The preview updates immediately after you confirm so you can check the new look before heading into a match.
CS2 dot crosshair settings
Knowing the exact numerical values helps you fine-tune your targeting HUD even if you already know your way around the menus. The game engine uses a specific combination of variables to isolate the central pixel block and remove all peripheral visual noise. You can enter these parameters manually to get a clean, static dot crosshair.
For those who prefer the developer console, a standard sequence to generate a center dot looks like this: cl_cross hairstyle 4; cl_crosshair dot 1; cl_crosshair thickness 1.5; cl_crosshair gap -3.0; cl_crosshair size 0; cl_crosshair color 1; cl_crosshairusealpha 1; cl_crosshair alpha 200; cl_crosshair_draw outline 0; cl_crosshair_outline thickness 0. Here is what each command does.
-
cl_cross hairstyle 4: Enforces classic static behavior, preventing the central point from expanding or shifting during movement and recoil.
-
cl_crosshair size 0 and cl_crosshair dot 1: Removes the standard horizontal and vertical lines while forcing the engine to render the middle indicator.
-
cl_crosshair thickness 1.5: Controls the size of the square block, keeping it visible without obscuring distant enemy models.
-
cl_crosshair gap -3.0: Compresses the structural elements tightly together to maintain a compact center.
-
cl_crosshair alpha 200: Sets the opacity, balancing visibility against the varied lighting across different maps.
Tweaking these parameters lets you scale the visual footprint to match your display settings. Adjusting thickness and alpha values keeps the result crisp at any screen resolution.
CS2 dot crosshair codes
Rather than adjusting individual parameters by hand, you can use a CS2 crosshair code to apply a pre-configured layout instantly. This lets you copy setups from the community without touching a single slider or calculating gap values. Importing a string is the fastest way to test a configuration without touching your underlying config file. Below are three variations you can use right away.
-
Simple Dot Code (CSGO-GVEw8-sHu5y-bFAXz-QSATR-CmA6Q): A clean, basic central point with no peripheral elements.
-
Square Dot Code (CSGO-ToNAZ-yoE9j-qGEQO-xCbyd-yRzfF): A blockier shape that stands out more on lower resolutions.
-
Outline Dot Code (CSGO-f9sMf-FmoNz-PGZuv-4pRVe-nb4NF): Adds a dark outline around the primary pixel, keeping the reticle visible against bright textures like sky boxes or sand.
To apply any of these, open CS2 settings, go to the Game tab, and scroll to the Crosshair submenu. Click Share or Import on the preview bar, paste your chosen string into the input field, and hit Import. The visual elements update instantly, so you can jump straight into a server and start practicing.
Dot crosshair via CS2 console commands
For players who prefer skipping the settings menu entirely, the developer console lets you paste a ready-made command sequence that overwrites your active reticle. The key command in any of these setups is cl_crosshair dot 1, which tells the engine to draw the central point. To make the outer lines disappear and leave only that single marker, you always need to pair it with cl_crosshair size 0.
For a standard, slightly transparent design without borders, paste this sequence: cl_cross hairstyle 4; cl_crosshair dot 1; cl_crosshair thickness 1.5; cl_crosshair gap -3.0; cl_crosshair size 0; cl_crosshair color 1; cl_crosshairusealpha 1; cl_crosshair alpha 200; cl_crosshair_draw outline 0; cl_crosshair_outline thickness 0. If you want a static setup with a green hue and a black border instead, use this string: cl_crosshair size 0; cl_crosshair thickness 2; cl_crosshair dot 1; cl_crosshair gap -3; cl_crosshair_draw outline 1; cl_crosshair_outline thickness 1; cl_crosshair color 5; cl_crosshair color_r 0; cl_crosshair color_g 255; cl_crosshair color_b 0. Either string applies the changes the moment you submit it. You can then fine-tune thickness or outline on the fly without leaving your current match.
Best cs2 dot crosshair settings
Getting the most out of a center dot comes down to balancing accuracy with visibility across different maps. A static configuration works best because the marker stays still when firing or moving. Removing the outer lines cuts visual clutter and helps you focus on headshots. Since a single point can be harder to follow during spray, you need to configure a few specific parameters, so the marker stands out against various backgrounds.
-
Crosshair style: Select a static behavior to keep the reticle in a consistent screen position. A dynamic reticle moves during gunfights, which defeats the whole point of using a dot.
-
Crosshair thickness: Keep this value between 1 and 2. Thickness controls the overall dot size, and staying in this lower range keeps the reticle visible without blocking enemy models at distance.
-
Crosshair outline: Keep the border enabled, particularly with a thinner dot. An outline stops the bright center color from blending into light sky boxes or sandy textures on maps like Dust 2 or Mirage.
Adjusting these parameters to suit your monitor size gives you the most reliable results for competitive play. Once you find the right balance, you can save or share your setup using the Share or Import button in the game settings.
How to make the dot easier to see
The main drawback of a dot crosshair is visibility. The single point can be hard to track on certain maps or in tricky lighting, and because it takes up so little screen space, it can easily disappear against bright walls on Mirage or dark corners on Inferno. Fixing this requires careful color selection and a few small configuration tweaks.
-
Crosshair color selection: Pick a high-contrast color like neon green, cyan, or bright pink to stop the reticle from blending into the environment. A contrasting color keeps the center dot readable against both sandy textures and dark player models.
-
Outline adjustments: Open the game settings and experiment with border thickness and opacity. A subtle black outline separates the bright core from light-colored sky boxes or smoke grenades.
-
Live match testing: Run a few casual matches or death match rounds to see how the dot holds up across different maps. Testing in live servers is the only reliable way to confirm the marker stays visible in every lighting scenario.
A few minutes of experimentation here builds a much more reliable foundation for competitive play.
How resolution affects crosshair size
Copying a configuration from a professional player rarely means it will look identical on your monitor. Resolution and aspect ratio both affect how large the crosshair appears during a match. A dot designed for 1080p will look noticeably different on a 4:3 stretched resolution, because the game engine scales visual elements based on total pixels. You will need to adjust your settings manually to get the shape you actually want.
-
Native 16:9 displays: This setup retains the proportions intended by default game configurations. Players on native resolutions rarely need major size adjustments because the pixels map cleanly to modern monitors.
-
4:3 stretched aspect ratios: Stretching the image expands the horizontal axis across the full screen. You will often need to reduce crosshair thickness to stop the center dot from looking like a wide rectangle rather than a square.
-
Manual size scaling: The cl_crosshair size [#] command sets the baseline crosshair size. Lowering the value shrinks a stretched reticle back down to a precise pinpoint.
Always check the final shape against a blank wall in a practice server before queuing for a competitive match.
How to keep your crosshair saved
Finding the right center dot takes time, and losing that setup is frustrating. Before experimenting with a new CS2 crosshair code, secure your current configuration. Backing up your parameters means you never lose a preferred layout because of a game update or an accidental reset.
-
External backups: Copy your active code to a notepad document outside the game client. Storing the string externally gives you a quick fallback if a new configuration doesn’t work out.
-
Autoexec file integration: Save any changes made through CS2 console commands directly into your local configuration folder. Placing the variables inside an autoexec config forces the game to apply them automatically on every launch.
-
Troubleshooting resources: Game patches occasionally reset user preferences without warning. Consulting our crosshair command guide can help you restore a distorted crosshair by providing the exact syntax you need.
The whole process takes a few minutes and means you can safely test different layouts knowing your original setup is still there when you need it.