CS2 console commands list
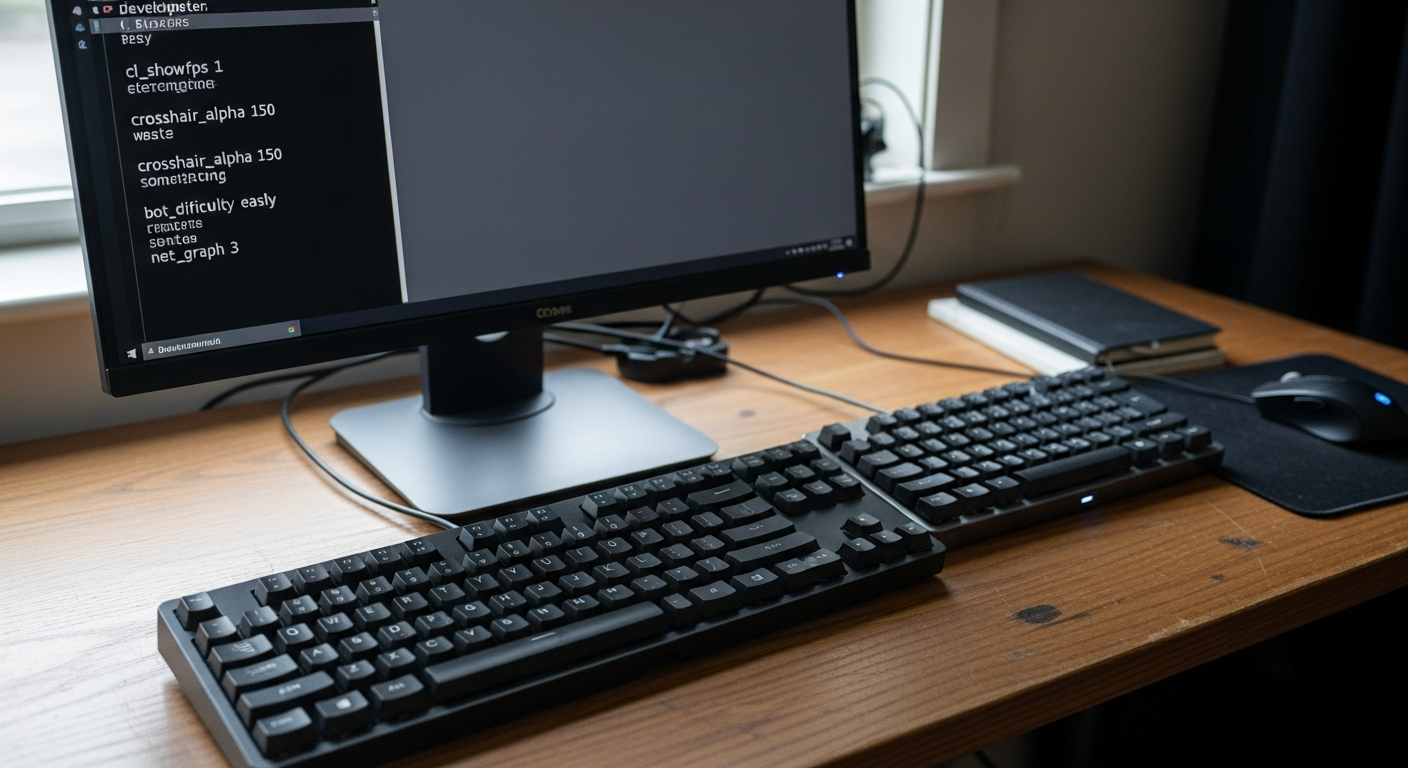
Table of Contents
How to open the CS2 console?
Getting the most out of Counter-Strike 2 starts with the developer console. This built-in text interface lets you tweak settings, customize your crosshair, and push performance well beyond what the standard menus allow. Valve disables it by default for new players, so you have to turn it on manually.
Launch the game and click the cog icon to open settings. Go to the “Game” tab, find the “Enable Developer Console (~)” option, and switch the dropdown from “No” to “Yes”. Closing the menu saves your changes automatically.
Once it’s active, opening the console is straightforward. Press the tilde (~) or backtick (`) key, which sits just below ESC on most keyboards. The text window slides down immediately. You can pull it up at any point, whether you’re on the main menu or mid-round. Players who keep accidentally hitting the key during firefights often prefer binding the console to something less central. Just head to “Keyboard / Mouse” under “UI Keys” and reassign the toggle to whatever suits you.
CS2 console commands list
Counter-Strike 2 has hundreds of commands, and nobody memorizes all of them. Keeping a reliable list nearby makes configuration much easier. If you want to browse everything available without leaving the game, typing czarist will dump the full directory right into your console. A lot of players go looking for commands that shift weapon alignment or tweak the field of view, and a handful of specific inputs can get your interface feeling exactly right.
Here are some of the most useful commands for general weapon and view model adjustments:
-
Czarist – Outputs the full directory of available CS2 console commands directly in your interface. Handy when you can’t remember a specific variable name.
-
Switch hands – Toggles your weapon between left and right hand each time you enter it, useful for quick visual adjustments when peeking certain corners.
-
cl_righthand 1 – Forces the right-hand view model, keeping your weapon on the default side of the screen.
-
View model_for – Adjusts the field of view for your weapon, letting you push the gun model further from the camera or bring it closer.
-
bind” ” “switch hands” – Assigns hand-switching to a specific key, so you can swap sides on the fly during a round.
Once you’re comfortable with these, you can start combining them with match control commands like mp_restart game 1 to test new configurations on a private server.
Best CS2 console commands for FPS
A consistently high frame rate matters a lot in competitive play. For fluid gameplay during intense firefights, raw performance should take priority over visual quality.
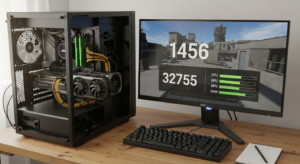
Hitting 144 FPS or higher requires capable hardware, something like an Intel Core i7-12700K or AMD Ryzen 7 5800X, but squeezing the most out of your setup also comes down to software configuration. The developer console lets you track performance stats and remove built-in engine restrictions with just a few commands.
Start by seeing how your system actually performs. Entering cl_show fps 1 puts a live FPS counter on your screen. From there, the key variable is fps_max [0–999], which sets the maximum number of frames the game will generate. Running fps_max 0 removes that cap entirely, letting your CPU and GPU push as many frames as they can without any artificial ceiling.
On the video settings side, dropping Texture Quality to Medium or Low takes a meaningful load off your hardware. You can also experiment with view model_for or positional variables like view model_offset_x to shift weapon placement, but your biggest frame rate gains will come from uncapping the engine and dialing in your graphics settings.
CS2 commands for lag and ping
A stable network connection matters just as much as frame rate. In CS2 Premier and Competitive, lag shows up as delayed hit registration or rubber banding, both of which can cost you rounds. Before touching any console variables, make sure you’re on a wired connection and close anything in the background that’s eating bandwidth. If the latency sticks around, check the official CS2 server status to rule out a wider outage.
The developer console has specific commands to help stabilize your network. Type net_graph 1 to pull up your ping and other connection stats directly on screen. Once you know what you’re dealing with, apply the following variables to improve data transfer.
-
rate 786432 – maximizes the bandwidth limit for receiving data from the server.
-
cl_update rate 128 and cl_cmd rate 128 – synchronize your client update and command packets with the server.
-
cl_inter 0 – sets interpolation time to the lowest possible value for immediate visual feedback.
-
cl_inter_ratio 1 – minimizes interpolation delay. Switch this to 2 if you’re experiencing packet loss.
-
cl_predict 1 and cl_predict weapons 1 – enable client-side prediction to keep movement and firing inputs smooth regardless of minor ping fluctuations.
These variables help your local client stay in sync with the server. If you’re looking for community surf servers, open the in-game Server Browser, type “surf” into the map name filter, and sort by ping to find low-latency options quickly.
Practice commands with SV_cheats 1
Practicing spray patterns, testing wall bangs, and working out grenade lineups all require a private space without the usual matchmaking restrictions. The developer console lets you bypass those limits on private matches by enabling a few specific variables.
Entering SV_cheats 1 unlocks advanced testing tools and turns any standard map into a personal training ground. Everything else in this section depends on that variable being active first.
-
SV_cheats 1 – enables cheat commands and overrides regular server limits. Works only on local or private servers, and it’s the required foundation for everything below.
-
SV_infinite_ammo 1 – gives you unlimited ammunition for all weapons and grenades, so you can keep firing and throwing utility without stopping to reload. You can also toggle this through the left-hand menu when launching a practice map.
-
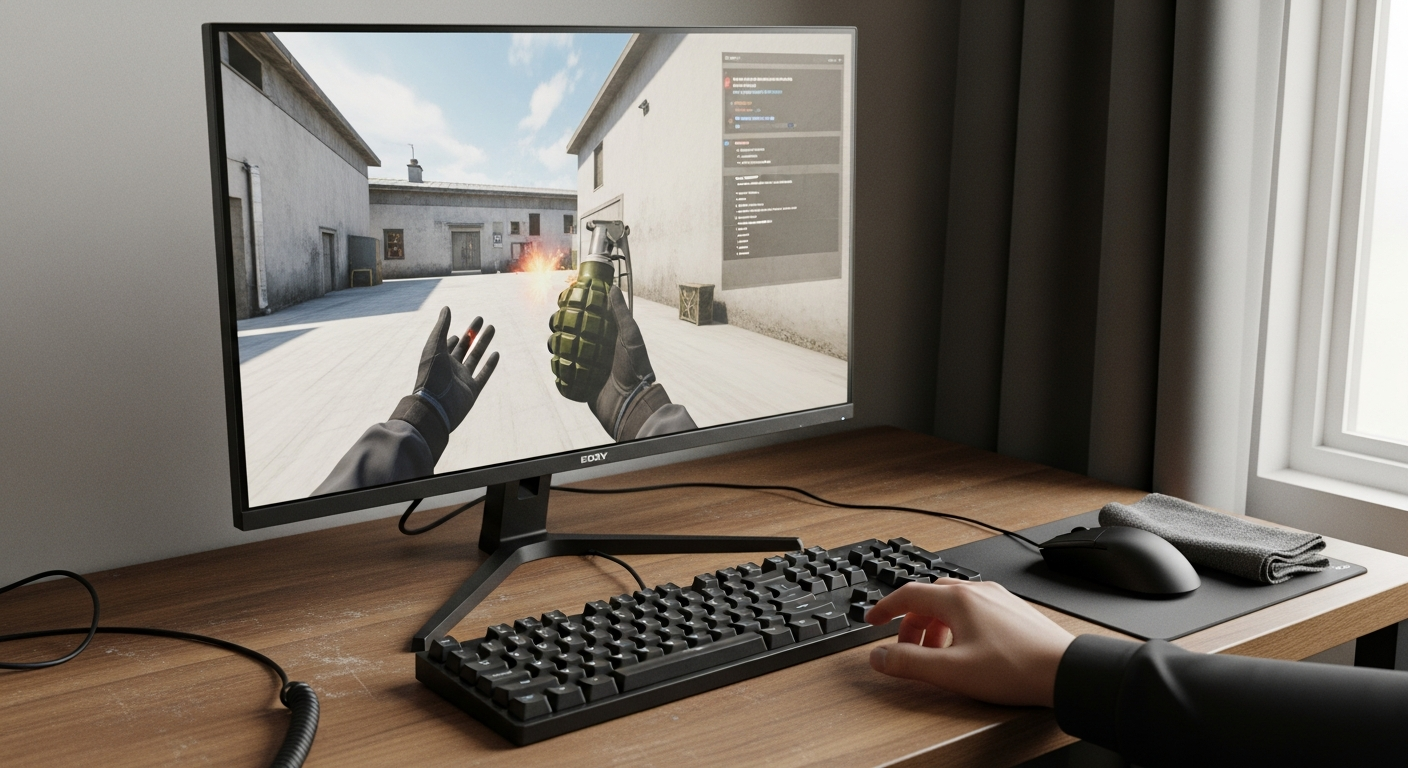
SV_grenade_trajectory 1 – shows the exact path a grenade takes after you throw it. This is essential for memorizing smoke and flash bang lineups across different maps.
Using these commands cuts out a lot of the dead time in practice, no more waiting for rounds to end or buying utility over and over. Combine them to build a proper understanding of game mechanics before heading back into competitive.
Bot commands for training sessions
Setting up a practice environment usually means controlling which AI opponents are on the map and where they’re standing. Bot commands give you full control over that, whether you want static targets for aim drills or moving enemies to work on tracking.
-
bot_kick – removes all bots from the server instantly. Usually the first thing to do before setting up any custom scenario.
-
bot_place – spawns a bot exactly where your crosshair is pointing. Use it to place an enemy at a specific angle or behind cover to test wall bangs and pre-aim routines.
-
bot_mimic 1 – makes all bots copy your inputs and movement, so they mirror your strafing. Good for counter-strafing and tracking practice.
With these commands you can reset the arena quickly and adjust enemy behavior to fit whatever drill you’re running that day.
CS2 crosshair and HUD commands
Customizing your visual interface has a real effect on focus during matches. Through the developer console, you get precise control over your screen layout, from network stats to the physical position of your weapon on screen.
Adjusting these parameters lets you cut unnecessary clutter and shape the on-screen feedback to fit your preferences.
Customizing the HUD and telemetry
Your HUD carries critical match information, but you might want to modify certain elements for better visibility or more detailed performance monitoring. Console inputs let you toggle specific data overlays or hide the interface entirely depending on what you need.
-
cl_HUD_telemetry_serverrecvmargin_graph_show 1 – adds a live readout of your FPS, ping, and latency in the top right corner of your screen. Useful for diagnosing connection issues without leaving the game.
-
cl_drawled 0 – removes all HUD elements from your view. Particularly useful when taking screenshots or recording clips without text overlays in the way.
Finding the right balance between an informative and uncluttered screen helps you stay aware of what’s happening without losing track of your connection.
Crosshair settings and weapon placement
Your reticle and weapon hands take up a chunk of your central vision. Getting both positioned correctly means they won’t block important angles while still feeling comfortable for your aiming style.
-
cl_cross hairstyle – controls the dynamic behavior of your reticle, including its shape and whether the lines spread when you move. Useful for newer players learning how movement affects accuracy.
-
View model_offset_x, view model_offset_y, and view model_offset_z – set the exact position of your weapon and hands in the horizontal (x), vertical (y), and depth (z) dimensions. The game accepts values from -2.5 to 2.5 on the x-axis and -2 to 2 on the y and z axes, giving you room to push the gun out of your direct line of sight.
-
View model_for – adjusts the field of view for your weapon model specifically. Changing this value affects how much of the gun is visible on screen, which in turn affects your peripheral awareness.
Dialing in these visual elements reduces on-screen distractions and keeps your attention on the targets in front of you.
View model and radar commands
A clear screen makes a real difference in competitive matches. Adjusting your weapon position and mini-map settings ensures key information is readable without blocking your view. These changes only affect interface elements, so tweaking your view model won’t touch your sensitivity or anything else core to how the game plays.
Adjusting your weapon view model
Your hands and weapon take up a noticeable portion of the screen. If you’d rather not adjust every coordinate manually, built-in presets and FOV adjustments can quickly push the gun out of your line of sight.
-
View model_preset_POS [1,3] – switches between the three available view model presets, each with its own predefined x, y, and z coordinates for quick setup.
-
View model_for – adjusts the field of view for your weapon model. The value ranges from 54 (lowest) to 68 (highest).
A smaller, tucked-away weapon model helps you spot enemies in the lower corners of your screen that you might otherwise miss.
Optimizing radar visibility
A well-configured mini-map lets you track teammates and spot enemies with a quick glance. Default settings often zoom in too far or leave blind spots, but a few console inputs can fix that.
-
cl_radar_scale [0.25,1.0] – adjusts the scale of the radar map. Lowering the value zooms out, letting you see the full map layout at once.
-
cl_HUD_radar_scale – controls how much of your HUD the radar occupies so you can make the element itself smaller or larger than the default.
-
cl_radar_rotate [0,1] – toggles whether the radar rotates with you or stays fixed.
-
cl_radar_always_centered [0,1] – controls whether the radar keeps you centered. Turning it off makes better use of the interface space when you’re near the edge of a map.
Getting both your weapon position and mini-map dialed in gives you a real tactical edge. You’ll read the map faster and keep your crosshair clear for duels.
Audio commands for clearer comes
Good communication and spatial awareness go hand in hand in Counter-Strike 2. Managing your audio properly means you’ll catch footsteps and other sound cues that help you anticipate what’s coming.
The balance between in-game sounds and teammate callouts matters. If voice chat drowns out a defused or a reload, that’s a problem. The console gives you several inputs to fine-tune your audio setup without digging through multiple menus.
Adjusting general voice chat volume
Getting the right balance between your team’s voice and the game environment is the first step. Callouts need to be audible, but they shouldn’t overpower important game sounds. A few quick commands let you scale VoIP volume to exactly where you want it.
-
SND_voipvolume [0–1] – adjusts the overall volume of teammate voice chat. Setting it to 0.5 cuts communication volume in half while keeping game sounds prominent.
-
voice_scale [0–1] – another way to adjust teammate voice volume, scaling from 0 to 1.
-
voice_mod enable [0/1] – toggles the entire voice chat system on or off. Setting it to 0 silences all team comes instantly, which can help during clutch situations where you need full focus.
These global settings give you a consistent baseline for every match. You can type them into the console whenever the noise in your lobby gets out of hand.
Managing individual players
Sometimes the global volume isn’t the issue. One teammate with a bad microphone or too much to say can be just as disruptive. Rather than silencing everyone, you can mute specific players while still hearing the rest of your team.
-
voice_mute [player name] – mutes a specific player’s voice chat, removing their audio feed from your game entirely.
-
voice_unmute [player name] – restores audio for a previously muted player, useful if they sort out their microphone, or you need to coordinate with them later.
Targeting individual players keeps your comes clean without cutting you off from useful information. Combined with proper volume scaling, it gives you an audio setup that actually supports your gameplay.
How to use autoexec CFG in CS2?
An autoexec file is a text document stored in your local game files that runs a set of console commands automatically every time you launch the game. Setting one up means your crosshair, view model, and performance binds are always active from the moment the main menu loads, with no manual typing required.
Creating and placing the config file
To get started, you need to create a plain text document and put it in the right folder. Once you’re in the correct directory, you can build the file from scratch and fill it with whatever commands you want to run at startup.
-
Locate the directory – navigate through your local files following this path: Game > CSGO > CFG.
-
Create the file – right-click inside the folder, create a new text document, and name it autoexec.cfg. Make sure the file extension changes from .txt to .cfg.
-
Add your commands – open the file in any basic text editor and paste in the console commands you want the game to run at startup.
Activating the autoexec via Steam
Dropping the file in the right folder isn’t always enough to guarantee it runs on boot. You also need to tell the game client to read it, which you do through Steam launch options.
-
Open game properties – right-click Counter-Strike 2 in your Steam Library and select Properties.
-
Locate the text field – find the Launch Options box at the bottom of the General tab.
-
Input the command – type
+exec autoexec.cfginto the box to link your config file to the game’s startup sequence.
Once that’s done, your client will apply all your custom settings automatically on every launch.
CS2 launch options for faster startup
Optimizing your game starts before you even reach the main menu. CS2 launch options give you a direct way to boost performance and cut down on stuttering right from the moment the game opens. Right-click the game in your Steam library, choose Properties, and find the text box in the General tab. A few commands entered there tell the engine to prioritize system resources and skip loading sequences you don’t need.
-
-Ovid: skips the startup video so you get to the main menu faster.
-
-high: tells the operating system to assign high priority to the game process, which helps keep frames stable and reduces interference from background applications.
-
-threads X: sets how many processor threads the engine can use. Replace X with your actual CPU thread count, so the game takes full advantage of your hardware.
-
-console: opens the developer console automatically on launch, so you don’t have to press the key binding every time you start a session.
-
-No joy: disables joystick support entirely. Turning off controller inputs frees up memory and can prevent certain stuttering issues tied to peripheral polling.
String these parameters together in the text field with a single space between each one. Steam saves the string automatically and applies it on the next boot.
Match control commands in CS2
Whether you’re running a private practice server or managing a custom game, having full control over the environment is essential. Match control commands let you adjust round timers, manage economy settings, and restart the game whenever you need to.
Before getting into specific tweaks, make sure SV_cheats 1 is active. That variable overrides the standard matchmaking restrictions and opens up a wide range of server-side adjustments.
Essential round and economy management
Taking control of the clock and your in-game funds means more time practicing and less time waiting. Maximizing your starting money and removing buy restrictions lets you test any weapon without interruption. These inputs create a clean environment for grenade lineups and recoil training.
-
mp_restart game 1: restarts the match after a 1-second delay, useful for applying new server rules and refreshing the scoreboard.
-
mp_max money 65535 and mp_start money 65535: sets the maximum funds and starting balance to the highest possible value, so you never run out of cash during practice.
-
mp_buy time 60000: lets you buy weapons at any point during a match. Pair it with mp_buy_anywhere 1 to purchase gear from wherever you’re standing on the map.
-
mp_round time 60 and mp_round time_defuse 60: extends round duration to 60 minutes, giving you plenty of time to explore and test strategies.
-
mp_freeze time 0: removes the waiting period at the start of each round so you can move immediately.
Team balancing and map controls
Standard matches enforce team balance, which gets in the way when you want to practice solo or run an asymmetric setup with friends. Turning off those limits lets you stack teams or explore the map on your own. Switching maps quickly also keeps practice sessions moving.
-
mp_limit teams 0 and mp_autoteambalance 0: disables automatic player shuffling and removes the cap on how many people can join one side.
-
mp_respawn_on_death_ct 1 and mp_respawn_on_death’t 1: forces instant respawns for both Counter-Terrorists and Terrorists, cutting out downtime after a death.
-
mp_warmup_end: ends the warmup phase immediately and starts the match.
-
launch_warmup_map [map code]: launches a practice match on a chosen map directly from your current lobby, without going back to the main menu.
Putting all of these match controls into a dedicated config file saves a lot of setup time. Running them all at once means your server is ready to go from the start of every session.

Post Comment